Remote control (RC) planes have fascinated hobbyists for decades. There’s something uniquely satisfying about taking to the skies with a model you’ve built with your own hands. Whether you’re an aviation enthusiast, a tinkerer, or simply someone looking for a new challenge, building an RC plane is both fun and rewarding. In this post, we’ll explore the basics of RC planes and walk through the key steps to building your first one.
Why RC Planes?
RC planes combine engineering, creativity, and a love for flight. Unlike drones or cars, they require careful balancing of aerodynamics, weight, and power to achieve smooth flight. For many, the appeal lies in both the technical build process and the thrill of flying something you crafted yourself. Plus, with modern materials and affordable electronics, building an RC plane has never been more accessible.
Choosing the Right Type of RC Plane
Before building, decide what kind of RC plane suits you:
- Trainers – Stable, slow-flying planes designed for beginners.
- Gliders – Lightweight, efficient models that stay aloft with minimal power.
- Aerobatic planes – Agile and powerful, designed for stunts.
- Scale models – Detailed replicas of real aircraft, often for advanced builders.
For beginners, a foam trainer plane is the best place to start. Foam is inexpensive, lightweight, and easy to repair—perfect for learning.
Materials and Tools You’ll Need
The core materials for most RC planes include:
- Foam board or balsa wood (for the body and wings)
- Electric motor (brushless motors are common)
- Electronic speed controller (ESC)
- Propeller
- Servos (to control the rudder, elevator, and ailerons)
- Radio transmitter and receiver (at least 4 channels)
- Battery pack (commonly LiPo batteries)
Basic tools include a craft knife, hot glue gun, ruler, and soldering kit. Soldering kit from amazon on this link!
Building Steps
- Design or Download a Plan
Beginners often start with free foam plane templates online. These plans give you exact wing spans, fuselage shapes, and assembly steps. - Cut and Assemble the Airframe
Using foam board or balsa, cut out the body, wings, and tail surfaces. Ensure pieces fit snugly and reinforce joints with glue or tape. - Install Electronics
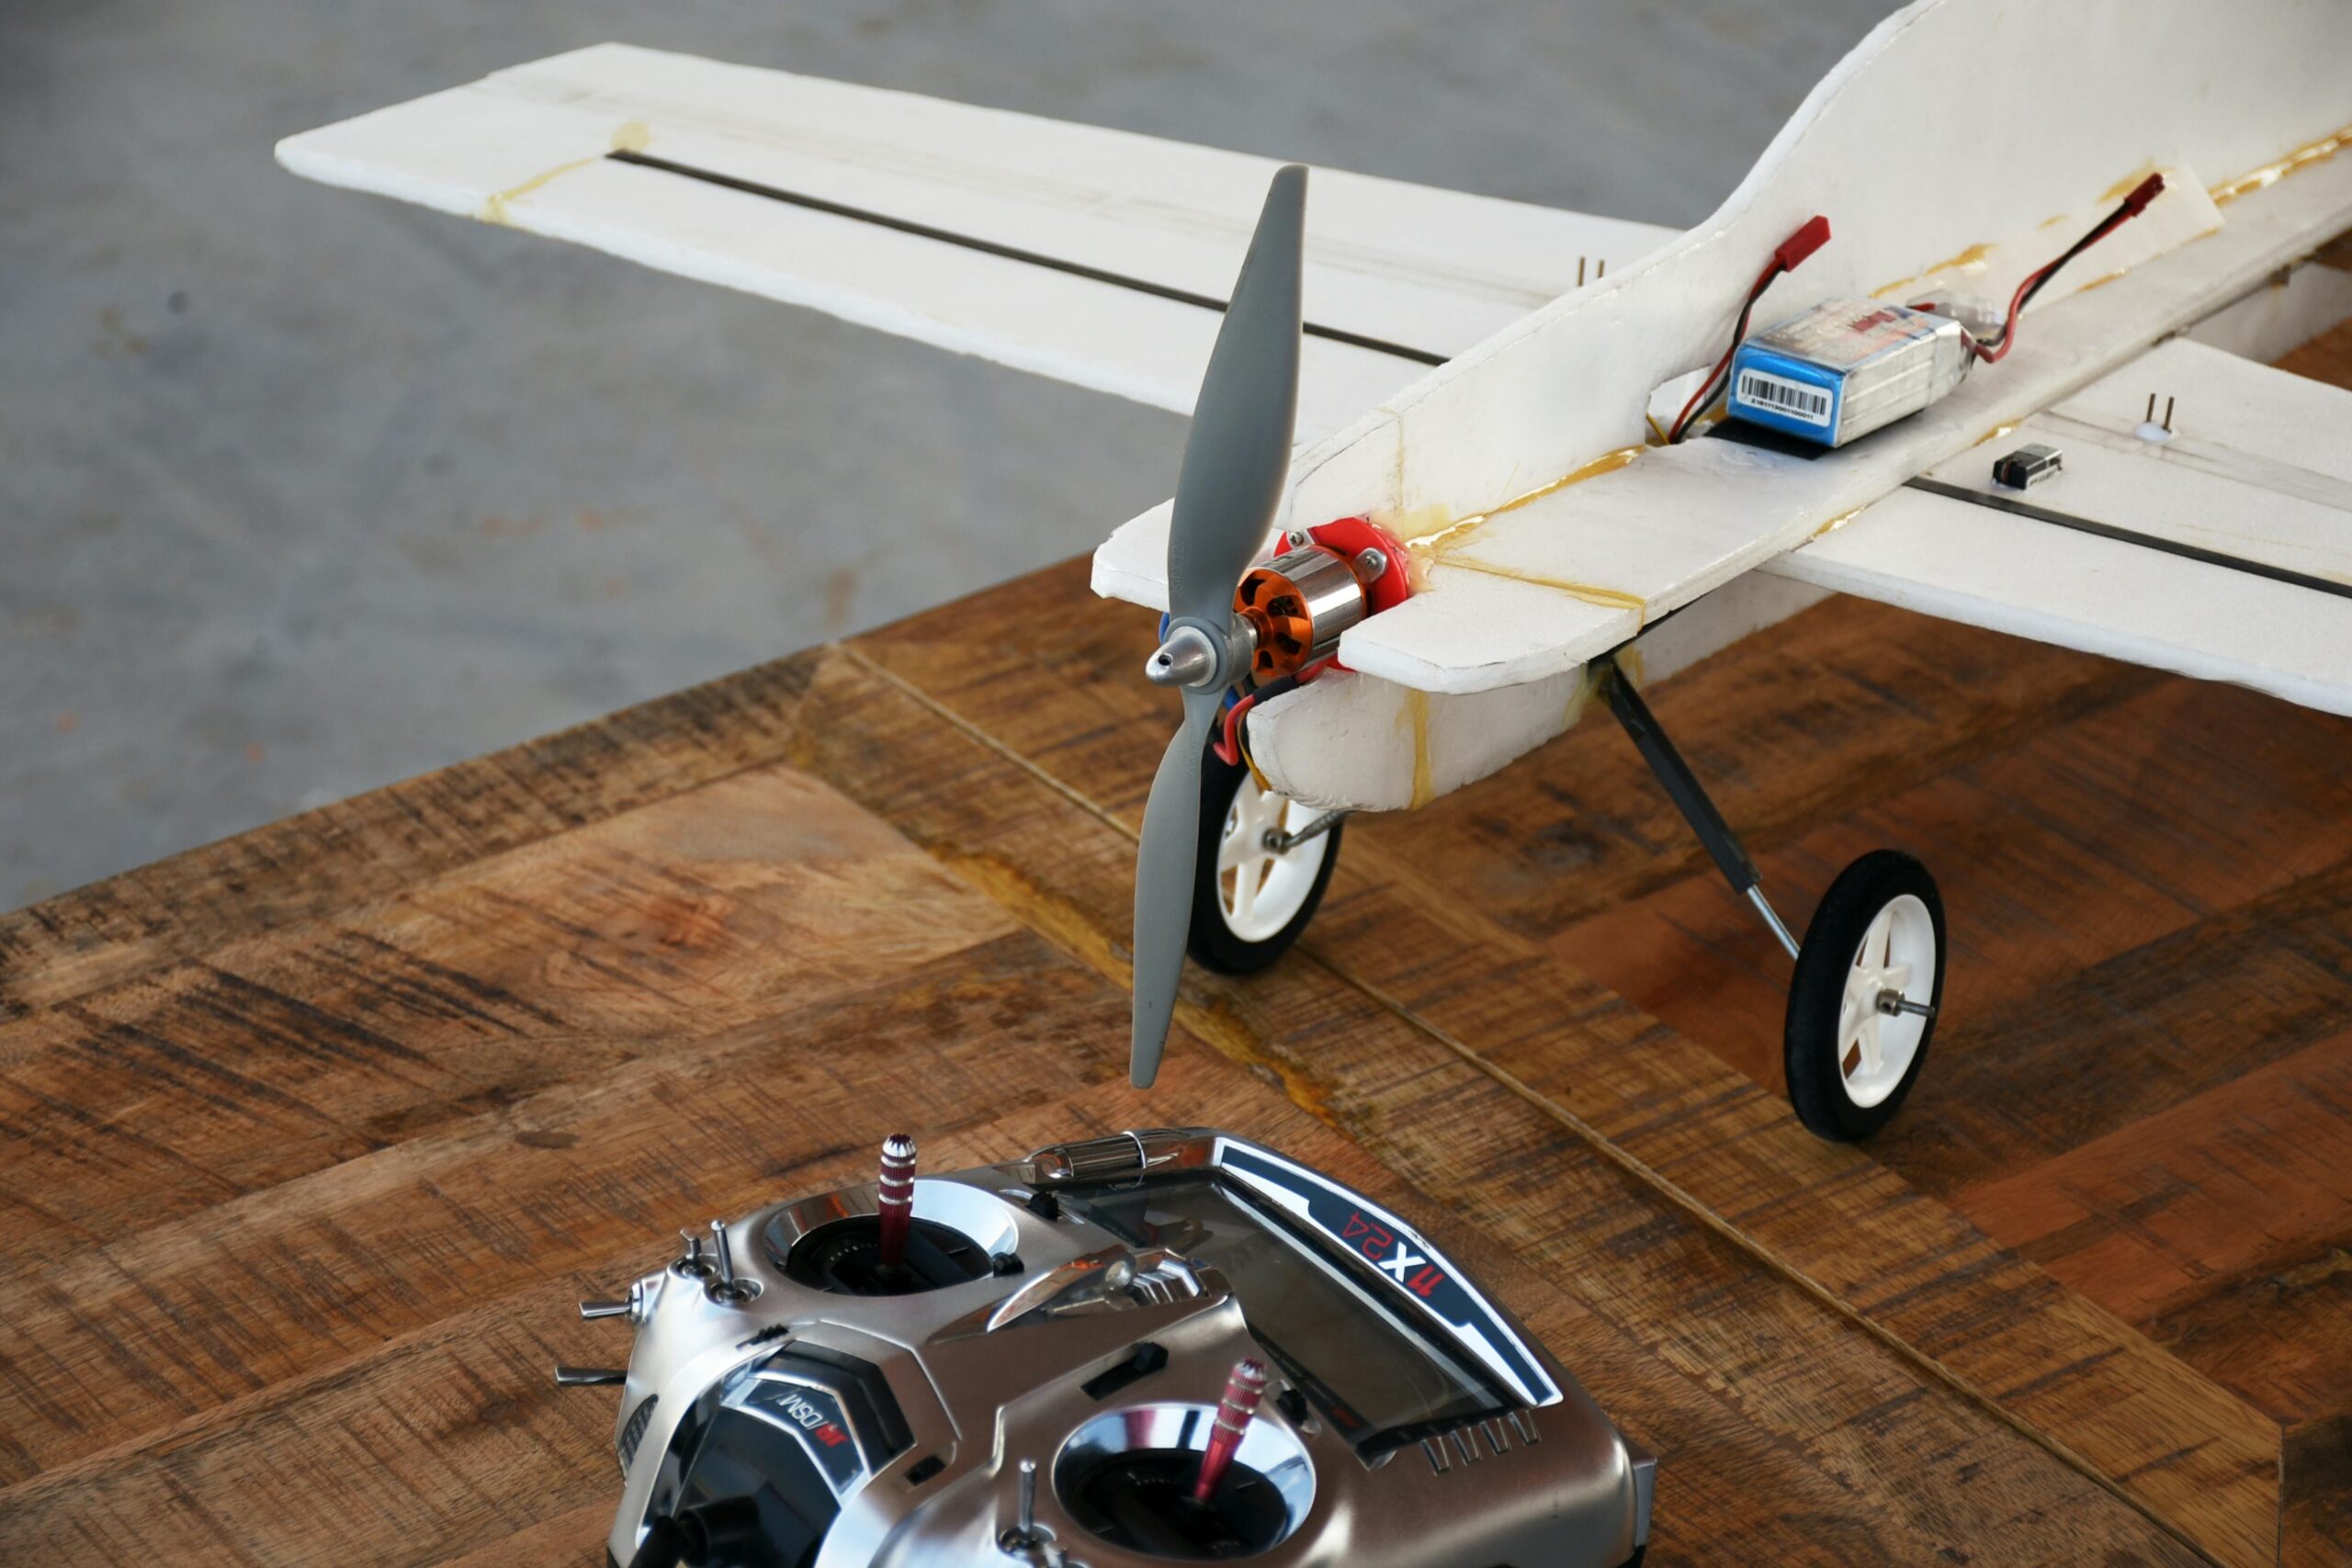
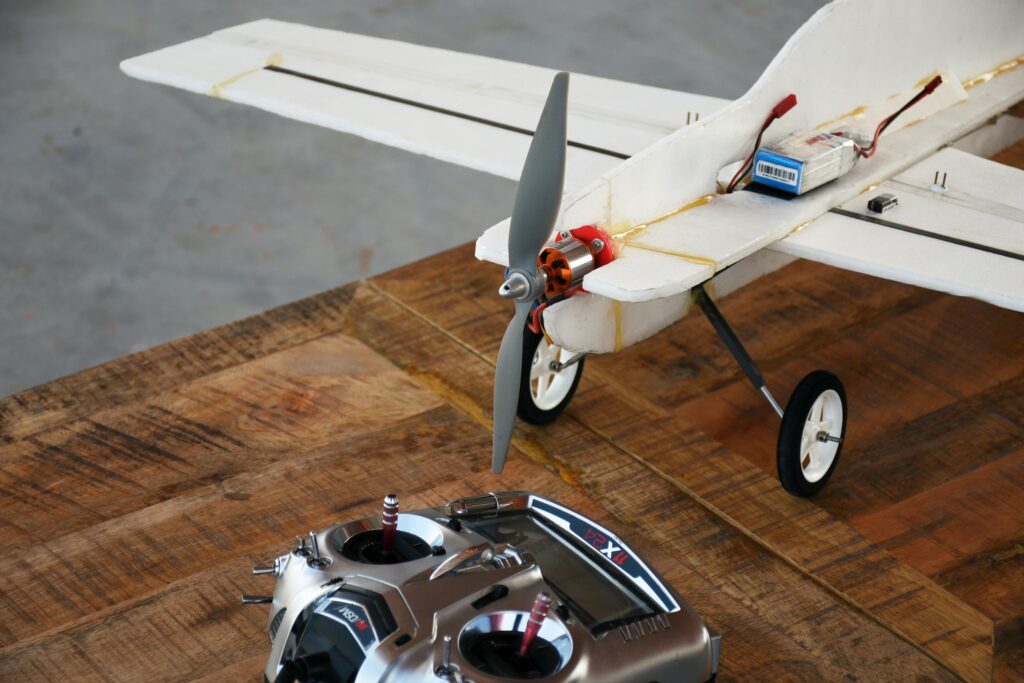
Mount the motor at the front, connect it to the ESC, and attach the propeller. Secure servos near control surfaces, then run pushrods (thin rods or wires) from the servos to the rudder, elevator, and ailerons. - Add the Radio System
Connect servos and ESC to the receiver, then bind the receiver to your transmitter. This ensures your controls communicate with the plane. - Balance the Plane
Every RC plane has a center of gravity (CG), usually about one-third back from the wing’s leading edge. Adjust battery placement until the plane balances at the correct point. - Test and Fly
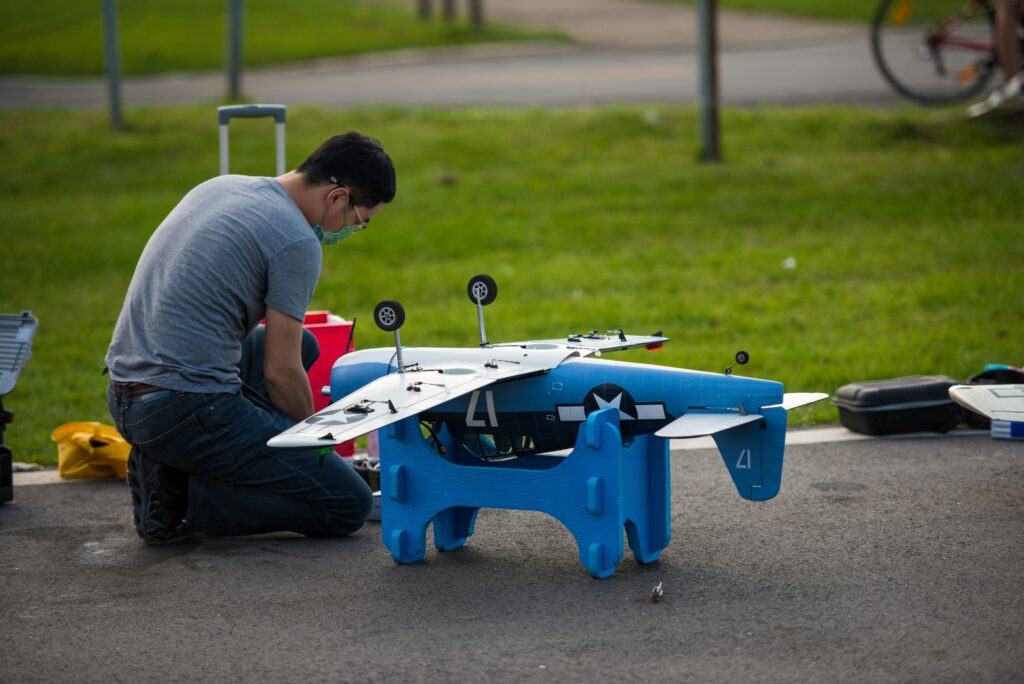
Do a pre-flight check: ensure all controls respond properly, the motor runs smoothly, and nothing is loose. Start with short, gentle flights in an open field.
Leave a Reply